

Creating great designs is an important part of promoting your business. Whether you are designing business cards, flyers or custom stickers, your artwork needs to be prepared correctly before it goes to print. A design may look perfect on your computer but turn out differently when printed if the file is not set up properly.
Print ready artwork helps make sure your designs have the right size, colours, image quality and layout. It also helps avoid printing mistakes, delays and extra costs. Understanding the basics of preparing artwork can make the printing process easier and help you achieve professional results.
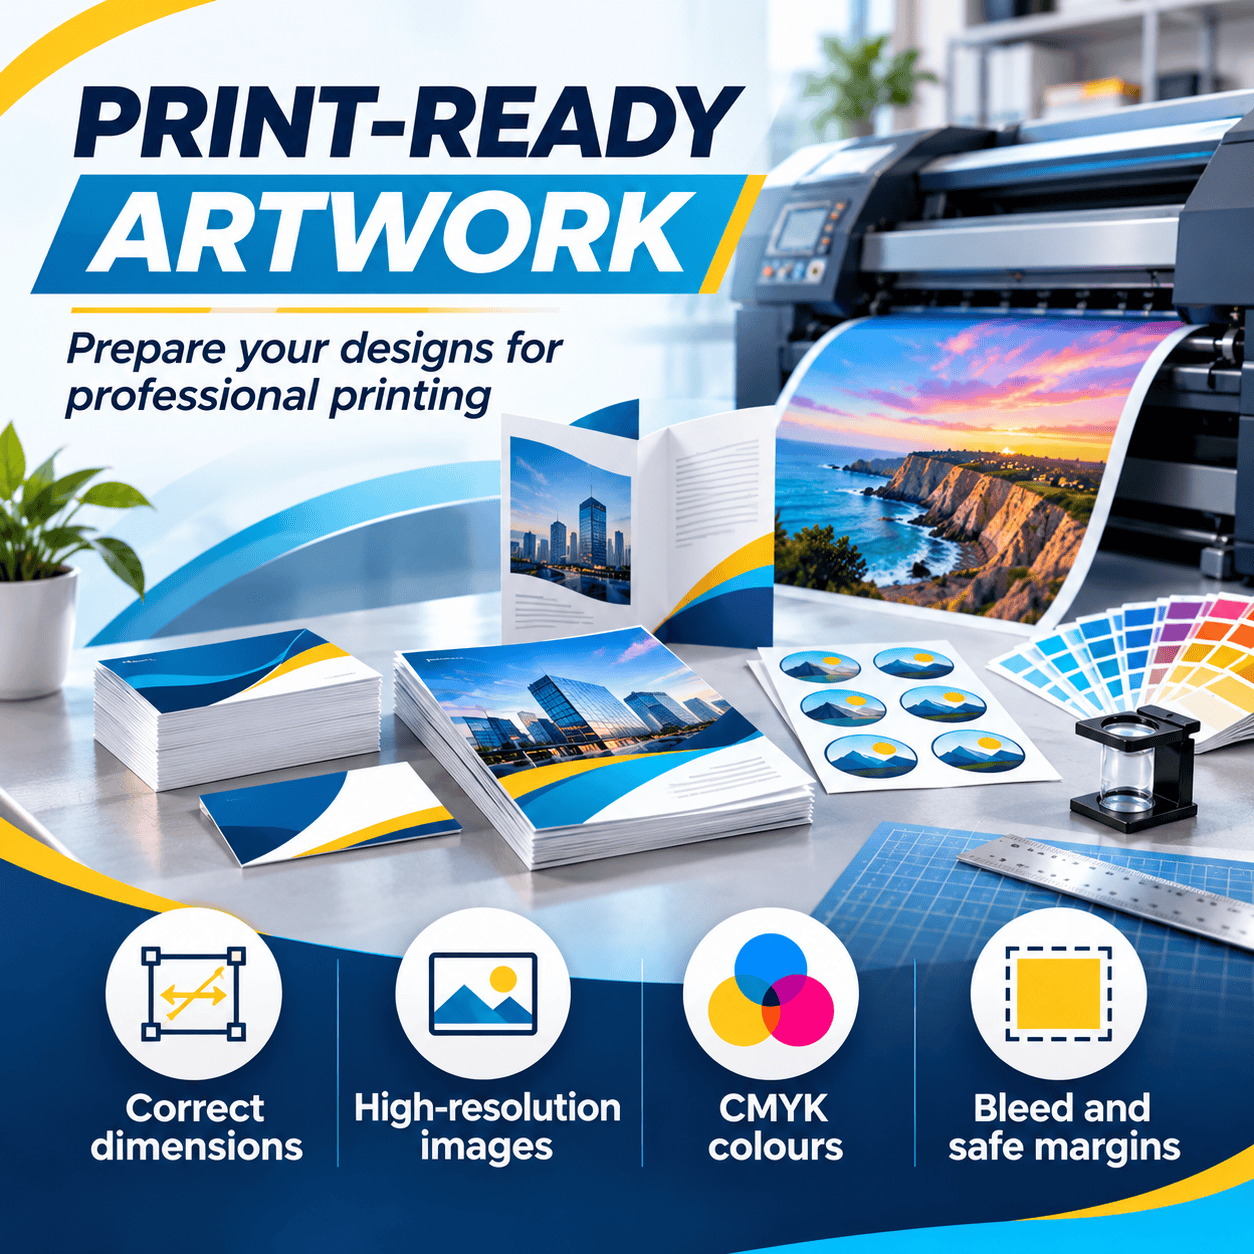
Preparing Artwork for Business Cards, Flyers and Stickers
Different printed products need different artwork settings. Business cards, flyers and stickers may look similar in design, but they often have different sizes, shapes and printing requirements.
For business cards, keep important details such as your business name, phone number, email address and logo easy to read. Avoid placing text too close to the edges. A clear and simple layout will help customers find your contact details quickly.
Flyers often contain more information, so organise the content carefully. Use clear headings, readable text and attractive images to catch people’s attention. Make sure the most important details, such as your offer or contact information, stand out.
For stickers, consider the shape, size and cutting area. Keep important design elements away from the edges to prevent them from being cut off. If your sticker has a special shape, make sure the artwork includes the correct cutting guide if required by your printer.
Tips for Maintaining Consistent Print Quality
Consistent print quality helps your business look professional across different printed materials. Your business cards, flyers, stickers and other marketing products should have a similar appearance.
Start by using the same brand colours, fonts and logo across your designs. This helps customers recognise your business more easily. Use high-quality images and avoid stretching pictures, as this can make them look blurry or unclear.
It is also important to check your artwork before sending it to print. Review the colours, text, image quality and layout. If you are printing several products, use the same design guidelines to keep everything looking consistent.
Understanding Crop Marks and Trim Lines
Crop marks and trim lines help printers know where to cut your printed materials. They are important because printed designs are often produced on larger sheets before being cut to their final size.
Trim lines show the finished size of the product. Crop marks are small lines placed outside the design to guide the cutting process. These marks help make sure the final product has clean and accurate edges.
You should also understand the bleed. Bleed is the extra area of artwork that extends beyond the final trim line. It helps prevent unwanted white edges if the paper moves slightly during cutting. The required bleed size can vary, so always check your printer’s instructions.
Understanding Print Ready Artwork
Print ready artwork is a digital design file that has been correctly prepared for professional printing. It includes the right document size, colour settings, image resolution and layout.
A print ready file should also have the correct margins, bleed and fonts. These settings help the printer produce your design as expected. Common file formats include PDF, AI and EPS, depending on the printing service and product. Preparing your artwork properly before submission makes it easier for the printer to process your order. It also reduces the chance of errors that could affect the final result.
Why Print Ready Artwork Is Important
Preparing print ready artwork is important because it helps make sure your finished products match your design. Without the correct settings, text may appear blurry, colours may look different or important details may be cut off.
Good artwork preparation can also save time and money. When files are ready for printing, there is less need for corrections or repeated submissions. This can help prevent delays and reduce extra costs. For businesses, professional print quality also creates a better impression. Well-prepared printed materials show attention to detail and help customers trust your brand.
Choosing the Correct File Format for Printing
Choosing the right file format is an important step when preparing artwork. Different formats have different features, and some are better suited to professional printing. PDF is one of the most common formats because it can keep the layout, fonts and images in place. High-quality PDF files are often preferred by printing companies.
AI and EPS files are useful for designs created in professional graphic design programs. They can support vector graphics, which means logos and shapes can be resized without losing quality.
JPEG and PNG files may also be accepted for certain printing jobs. However, you should check their resolution and make sure they meet the printer’s requirements before sending them. Always ask your printing provider which file format they prefer.
Understanding Image Resolution and Quality
Image resolution affects how clear your printed designs will look. A low-resolution image may appear sharp on a small screen but become blurry or pixelated when printed at a larger size. For many standard print jobs, 300 DPI is a common resolution recommendation for images at their final print size. DPI means dots per inch and helps describe the level of detail in printed images.
Use high-quality photographs, logos and graphics whenever possible. Avoid copying small images from websites because they may not have enough detail for professional printing. Before submitting your artwork, check that all images are clear and suitable for the final product size.
Using CMYK Colour Mode for Accurate Printing
Colours can look different on a computer screen compared with printed materials. This happens because screens and printers use different colour systems.
Most screens use RGB, which stands for Red, Green and Blue. Professional printing commonly uses CMYK, which stands for Cyan, Magenta, Yellow and Key (Black). Setting your artwork to CMYK can help prepare colours for the printing process. However, some colours may still look different because screens and printing materials have different colour limits.

Choosing the Right Fonts and Typography
Fonts and typography affect how easy your printed materials are to read. The right font can also help communicate your brand’s personality.
Choose fonts that are clear and suitable for the type of product you are creating. For example, business cards need readable contact details, while flyers need clear headings that help readers understand the message. Avoid using too many different fonts in one design. Using one or two suitable font styles can make your layout look clean and professional.
Before sending your artwork, make sure fonts are embedded in the PDF or converted to outlines if your printer requires it. This helps prevent font changes when the file is opened on another computer.
Checking Margins and Safe Areas
Margins and safe areas help protect important information from being cut off during printing. They are especially important for products such as business cards, flyers and brochures.
The safe area is the space inside the trim line where important text, logos and images should stay. Keeping these elements away from the edges helps prevent them from being removed during cutting.
Bleed should extend beyond the trim line, while important content should remain within the safe area. Always follow the measurements provided by your printing company because requirements can differ between products.
Preparing Images, Logos and Graphics
Images, logos and graphics play an important role in making printed materials attractive. They help communicate your message and make your business easier to recognise. Use original, high-quality files whenever possible. Vector logos are a good choice because they can be resized without becoming blurry. If you use photographs, make sure they have enough resolution for the final print size.
Check that images are placed correctly and that there are no missing graphics or unwanted backgrounds. You should also make sure you have permission to use any images, fonts or graphics included in your design. A well-prepared layout with clear images and consistent branding can help your printed products look more professional.
Common Artwork Mistakes to Avoid
Small artwork mistakes can affect the quality of your final printed products. One common mistake is using low-resolution images that look blurry when printed. Another is choosing the wrong document size, which can cause the finished product to have incorrect dimensions.
Forgetting to add bleed is another issue. Without enough bleed, unwanted white edges may appear after cutting. Placing text too close to the edge can also cause important details to be trimmed.
Other mistakes include using the wrong colour mode, missing fonts, incorrect spelling and saving files in an unsuitable format. Taking time to review your design before submission can help prevent these problems and make the printing process smoother.
Working with Professional Printing Services
Working with a professional printing service can help you achieve better results. Printing providers understand different materials, printing methods and artwork requirements.
They can guide you on suitable file formats, paper types, finishes, sizes and colour settings. They may also check your artwork and let you know if anything needs to be corrected before printing.
If you are unsure about preparing your files, ask for advice before placing your order. This can help you choose the right options for your project and avoid unnecessary changes. A reliable printing partner can also help you create business cards, flyers, stickers and other marketing materials that match your brand.
How to Check Your Artwork Before Submission
Before sending your artwork to the printer, take a few minutes to review the complete design. Check the document size, image quality, colours, fonts and spelling. Make sure all important information is clear and correctly placed.
You should also confirm that your artwork includes the correct bleed, crop marks and safe areas if required. Open the final PDF to check that the layout looks right and that no images or text are missing.
It is a good idea to follow your printer’s artwork guidelines before submitting your files. If you are unsure about any settings, ask the printing team to review the artwork.
Conclusion
Preparing print ready artwork is an important step in creating high-quality business cards, flyers, stickers and other printed materials. By choosing the correct file format, checking image resolution, using CMYK colours and setting up proper margins and bleed, you can reduce printing mistakes and achieve better results.
Taking the time to prepare your files properly can save money, prevent delays and help your business maintain a professional image. Need professional printing for your next project? Contact PrintNova today to discuss your business cards, flyers, custom stickers and other printing needs. Let PrintNova help bring your designs to life with quality printing that makes your brand stand out.


